


Download GCash with an international sim
Be one of the first 1,000 Filipinos to try it in Japan, Australia & Italy!

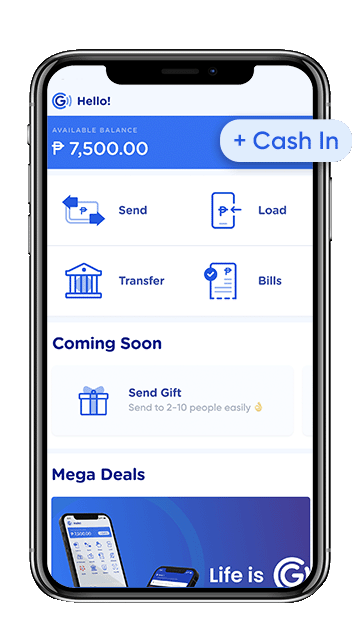
LIBRE MAGPADALA
Send money to the PH for FREE pag GCash-to-GCash

INSTANT BUY LOAD
Buy Load instantly para sa pamilya sa Pinas

PAY BILLS ON TIME
Pay for bills in the PH on time

BANK TRANSFER
Transfer funds to 70+ PH banks
How to register?
Download now & follow the steps
Download now & follow the steps
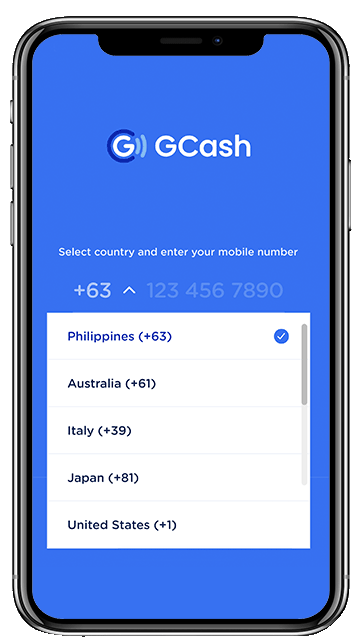
STEP 1
Select country, & input mobile number

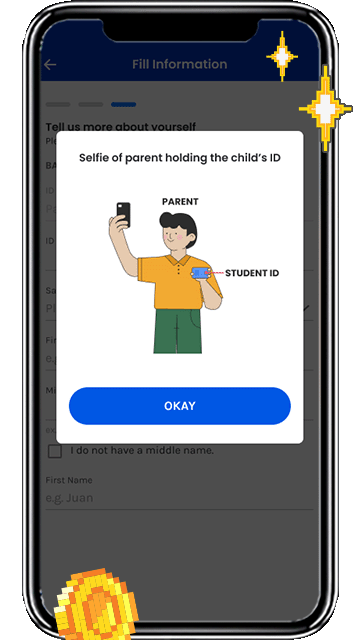
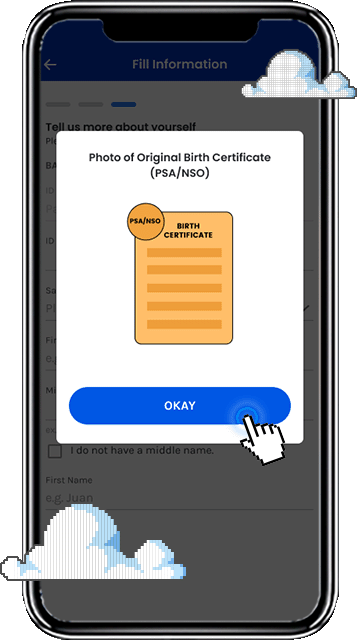
STEP 2
Enter information

STEP 3
Set your MPIN (make sure you don’t forget this), then proceed to log in

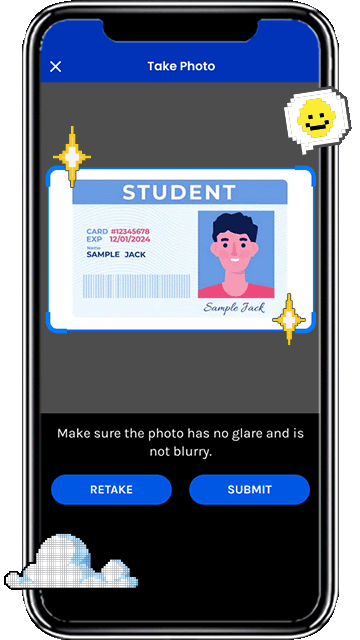
STEP 4
Ready your PH Passport or a valid PH ID for scanning to verify your account

STEP 5
Prepare for facial verification via selfie

STEP 6
Provide additional information, submit application and wait for confirmation SMS

STEP 7
Enter MPIN & start enjoying GCash!


Frequently Asked Questions
What is the GCash Overseas Beta Version?
Got more questions?
Check out our help center